
Unity augmented reality application combined with Blender
An immersive and interactive mobile
experience with PC parts

Role
3D Modeler
Unity Developer
Software Programmer
Timeframe
1 Week for Modeling
1 Week for Unity Development
Tools Used
Unity
Adobe Illustrator
Blender
Problem
During my capstone class, our final project was to create an augmented reality application with Unity. The task was to set up a scene (or multiple) within Unity and add an augmented reality camera. We then had to handle lighting/reflections within that scene and then develop UI elements that could trigger 3D models to be placed on the screen. Said 3D models would have to be developed by us through modeling software like Blender or Autodesk Maya.
Solution
By combining the use of Blender and Adobe Illustrator, I was able to create various 3D models for my augmented reality application. Blender is an application that works relatively well with SVG files ported in from Adobe Illustrator. Flat vector SVG files created in Adobe Illustrator can then be modified within Blender to add a 3D look by simply altering the geometry of the file. I did this for a few small bits and pieces of certain 3D parts I found difficult to create from scratch in Blender. The models were then exported as FBX files into Unity for the augmented reality portion.
What to make?
I thought long and hard about what kind of 3D models I was going to make for this project. Since I enjoy building PC’s, I figured it would be cool to make 3D models of various PC parts. This would be my first time ever using a 3D modeling software like Blender, so this was quite an exciting and interesting project.
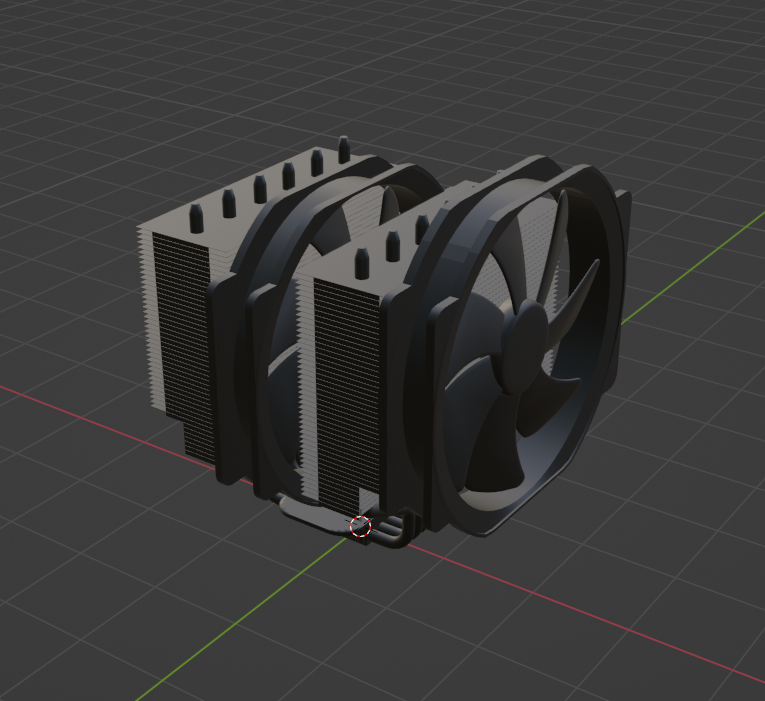
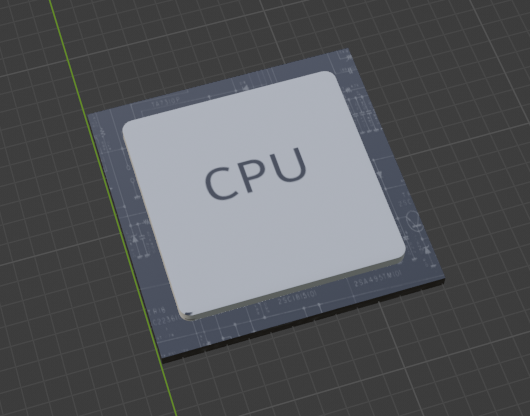
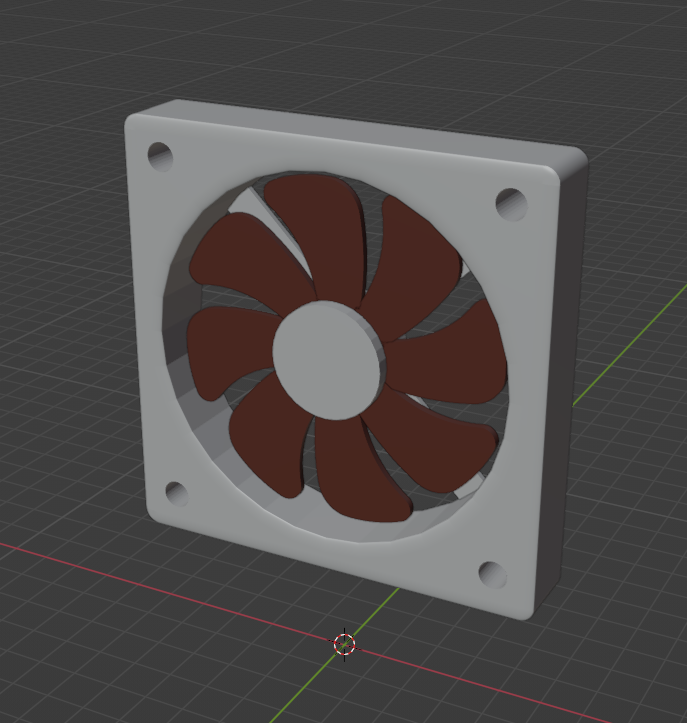
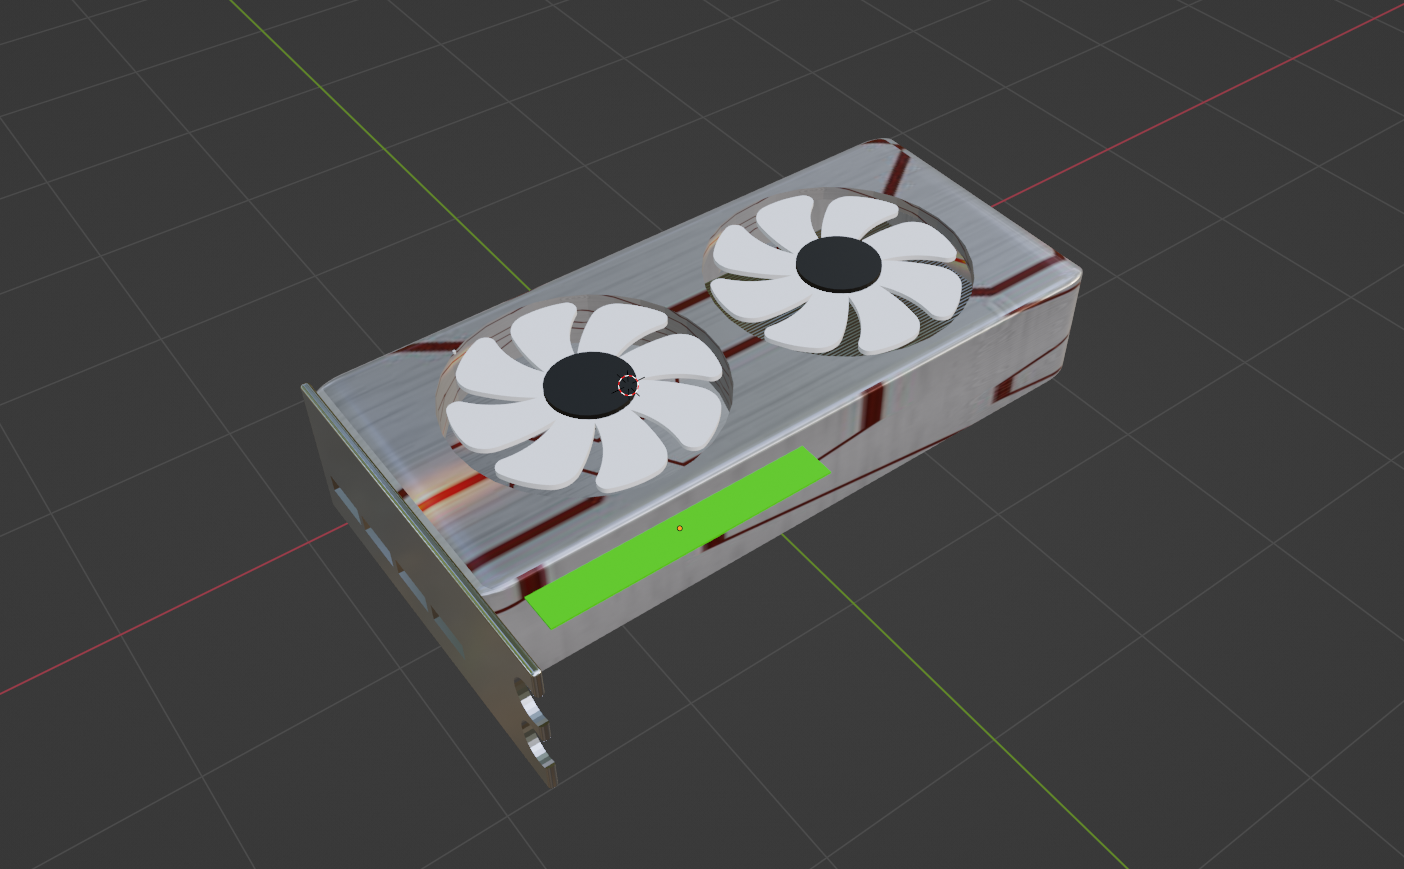
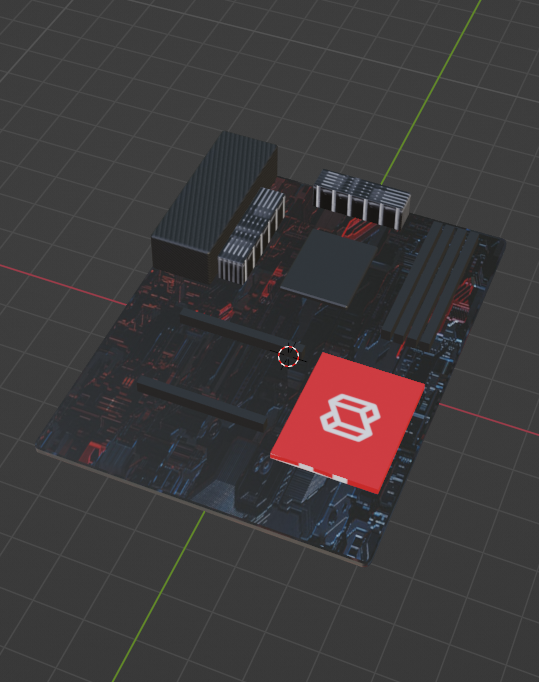
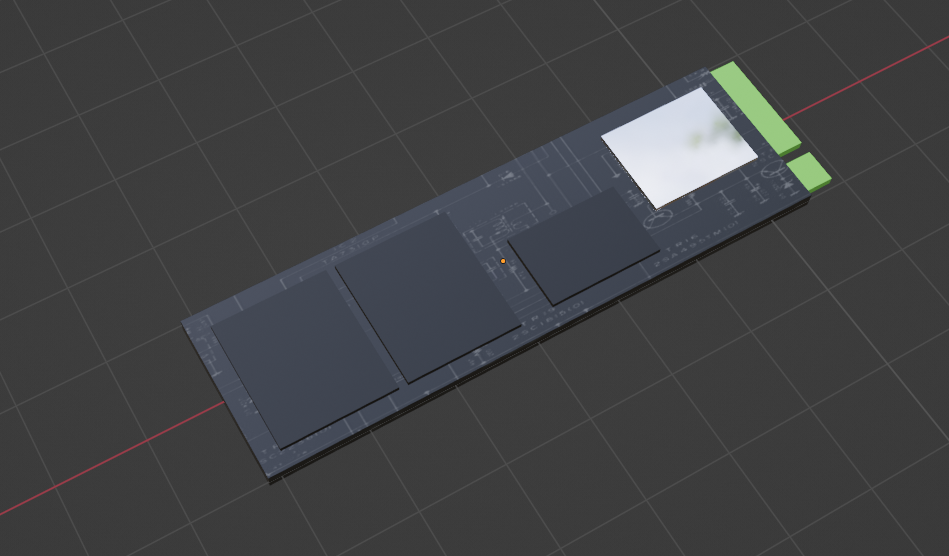
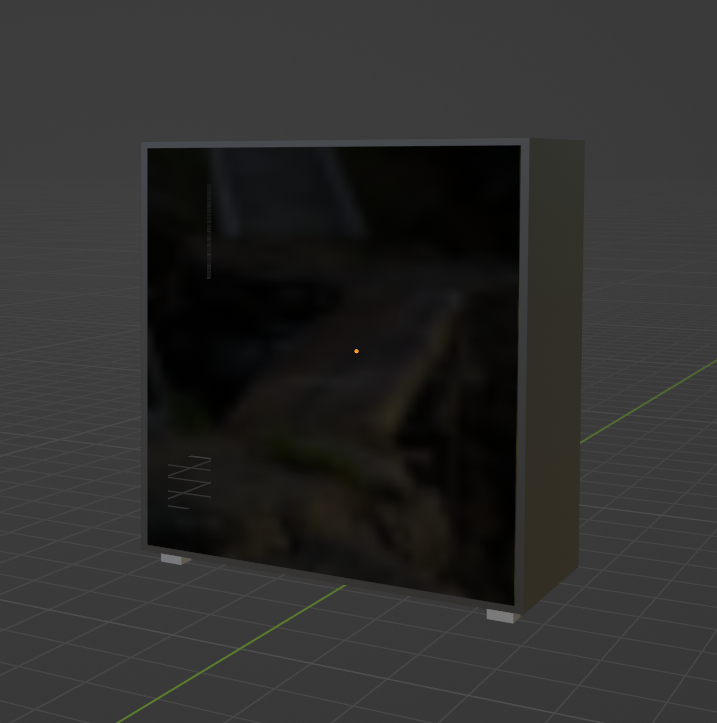
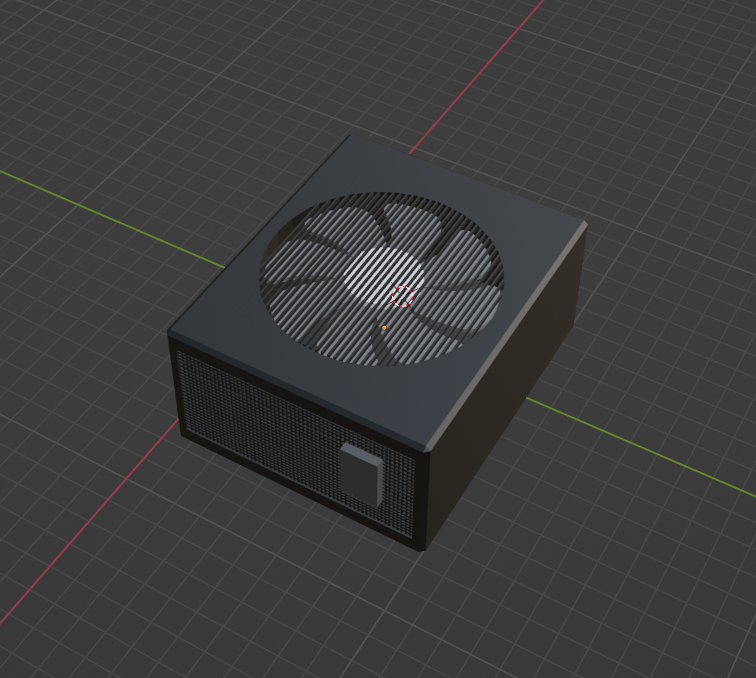
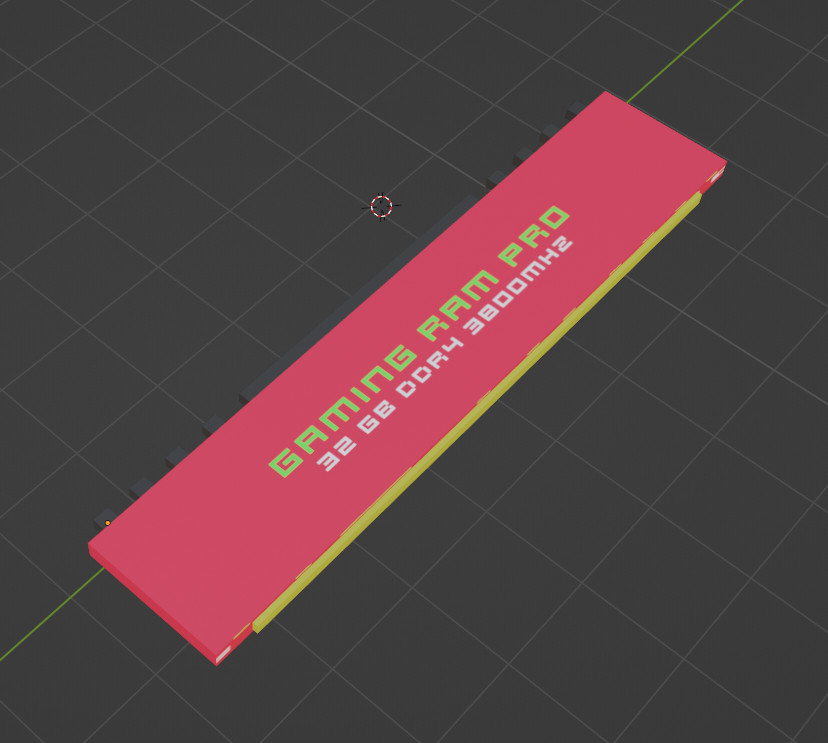
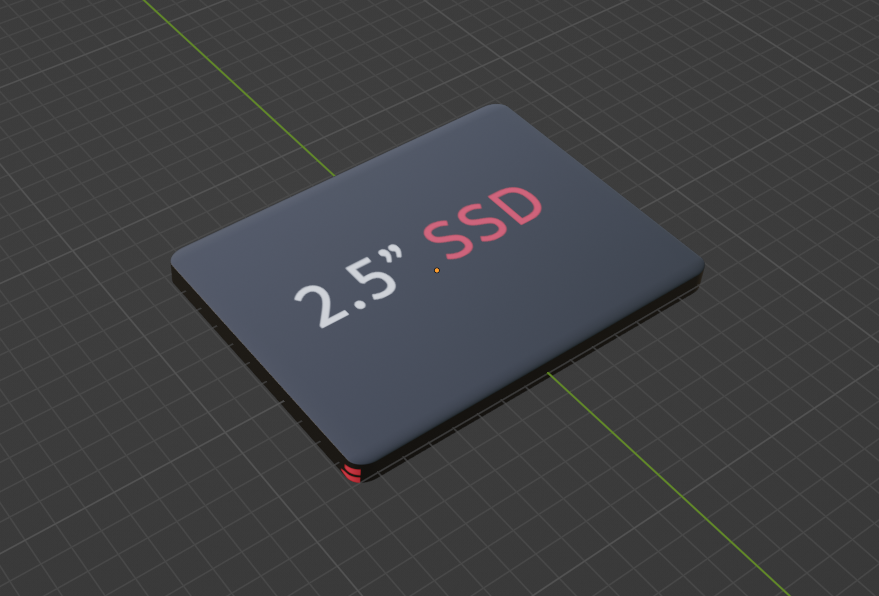
The Blender Models
Various different PC components were made in Blender completely from scratch. This was my first attempt ever at 3D modeling, so the models might look funny in some places. However, the class did not have extremely high expectations for the models.
Bringing them into Unity
After all the models were created, it was time to port them all into Unity. This proved to be quite difficult as Unity and Blender did not work together with the textures/colors of the models. So, this was an extra step I had on my hand. Having to then port over and reapply all the textures for the items. Some worked and some didn’t. Due to time constraints, the bits and pieces that were not textured correctly had to remain that way.


Setting up the Main Menu
The main menu had to be created in order for the user to be able to adjust settings and begin a new build. Anything additional on top of that was extra.

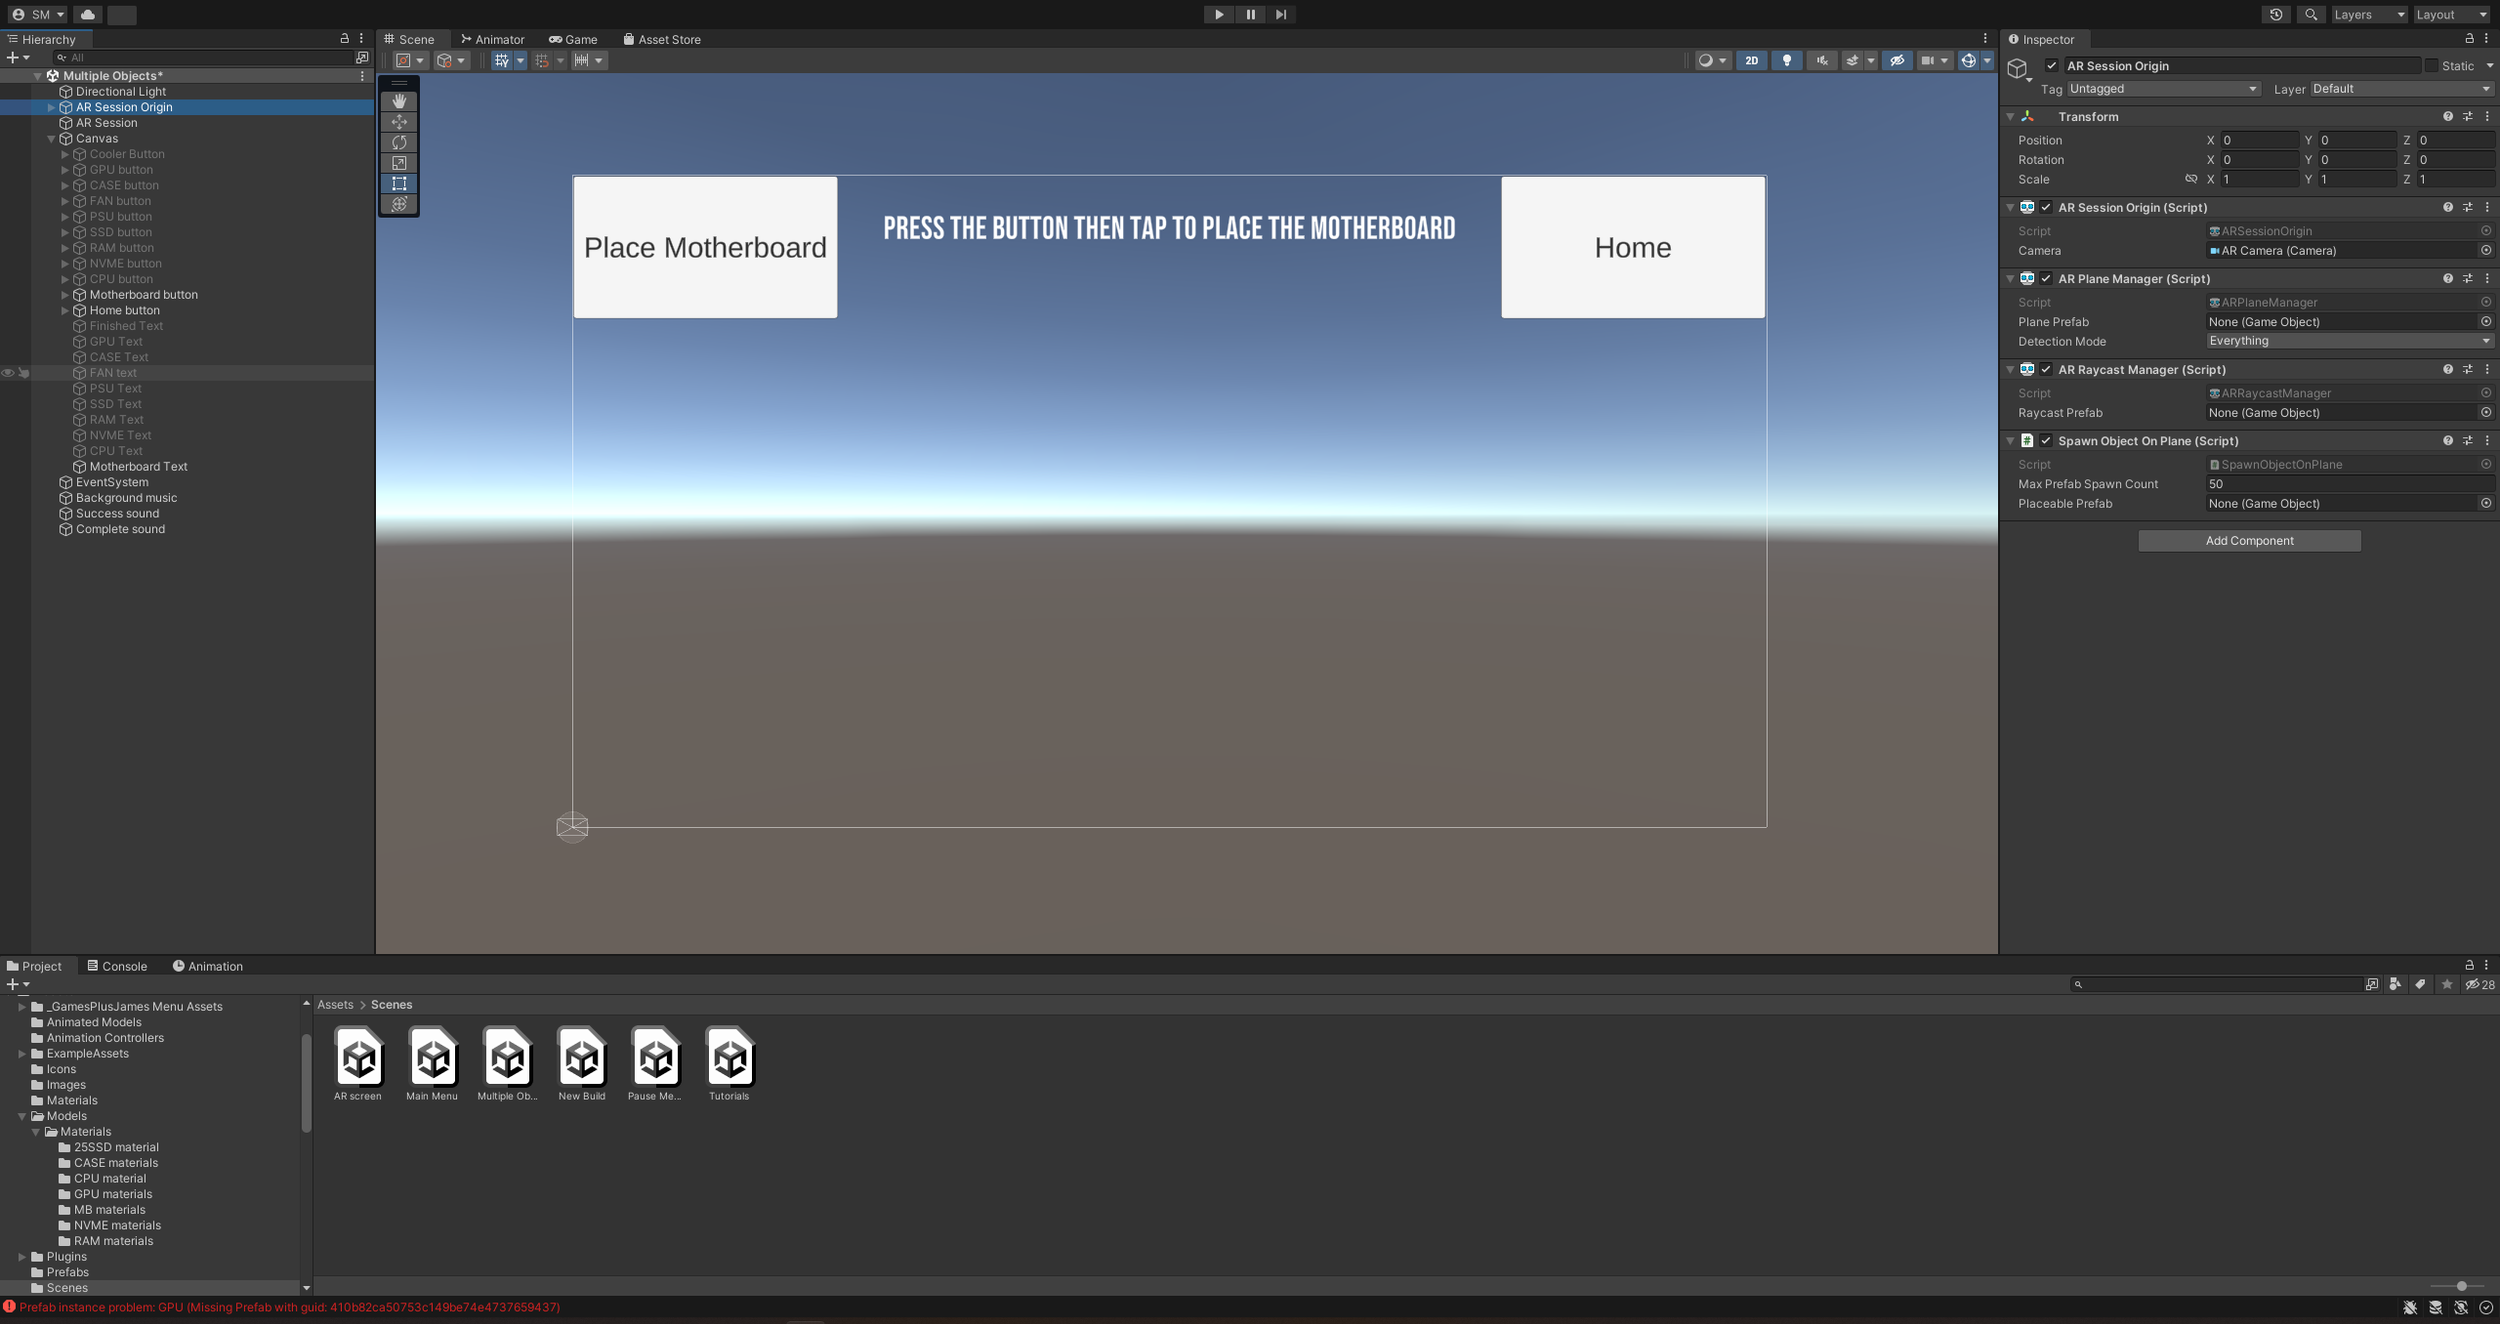
The Main AR Scene
After the main menu, it was time to set up the main Augmented Reality portion of the application.

The ‘Tutorials’ section of the AR app.
The ‘Free Build’ section of the AR app.
Coding it in
With everything set up, it was time to begin coding.
Code to make the main menu functional.
using System.Collections;
using System.Collections.Generic;
using UnityEngine;
using UnityEngine.SceneManagement;

public class MainMenu : MonoBehaviour
{


    public string firstLevel;
    public string secondLevel;

    public GameObject optionsScreen;
    public GameObject loadGame;
    public GameObject newGame;


    void Start()
    {

    }

    void Update()
    {

    }

    public void StartGame()
    {
        SceneManager.LoadScene(firstLevel);
    }

    public void FreeGame()
    {
        SceneManager.LoadScene(secondLevel);
    }


    public void NewGame()
    {
        newGame.SetActive(true);
    }

    public void NewGameClose()
    {
        newGame.SetActive(false);
    }

    public void LoadGame()
    {
        loadGame.SetActive(true);
    }

    public void LoadGameClose()
    {
        loadGame.SetActive(false);
    }

    public void OpenSettings()
    {
        optionsScreen.SetActive(true);
    }

    public void CloseSettings()
    {
        optionsScreen.SetActive(false);
    }

    public void QuitGame()
    {
        Application.Quit();
        Debug.Log("Closing App");
    }

}
Code to get the AR camera to recognize flat planes with a placement indicator.
using System.Collections;
using System.Collections.Generic;
using UnityEngine;
using UnityEngine.XR.ARFoundation;
using UnityEngine.XR.ARSubsystems;

public class PlacementIndicator : MonoBehaviour
{
    private ARRaycastManager rayManager;
    private GameObject visual;

    void Start ()
    {
        // get the components
        rayManager = FindObjectOfType<ARRaycastManager>();
        visual = transform.GetChild(0).gameObject;

        // hide the placement indicator visual
        visual.SetActive(false);
    }

    void Update ()
    {
        // shoot a raycast from the center of the screen
        List<ARRaycastHit> hits = new List<ARRaycastHit>();
        rayManager.Raycast(new Vector2(Screen.width / 2, Screen.height / 2), hits, TrackableType.Planes);

        // if we hit an AR plane surface, update the position and rotation
        if(hits.Count > 0)
        {
            transform.position = hits[0].pose.position;
            transform.rotation = hits[0].pose.rotation;

            // enable the visual if it's disabled
            if(!visual.activeInHierarchy)
                visual.SetActive(true);
        }
    }
}
Code to get the Tutorials section of the AR app to work. This section allowed users to place down 3D models that had been animated, by me, to demonstrate how to install certain PC parts.
using System.Collections;
using System.Collections.Generic;
using UnityEngine;
using UnityEngine.XR.ARFoundation;
using UnityEngine.XR.ARSubsystems;

[RequireComponent(typeof(ARRaycastManager))]
public class SpawnObjectOnPlane : MonoBehaviour
{

    private ARRaycastManager raycastManager;
    private GameObject spawnedObject;
    private List<GameObject> placedPrefabList = new List<GameObject>();

    [SerializeField]
    private int maxPrefabSpawnCount = 0;
    private int placedPrefabCount;

    [SerializeField]
    private GameObject placeablePrefab;

    static List<ARRaycastHit> s_Hits = new List<ARRaycastHit>();

    private void Awake()
    {
        raycastManager = GetComponent<ARRaycastManager>();
    }

    bool TryGetTouchPosition(out Vector2 touchPosition)
    {
        if(Input.GetTouch(0).phase == TouchPhase.Began)
        {
            touchPosition = Input.GetTouch(0).position;
            return true;
        }

        touchPosition = default;
        return false;
    }

    private void Update()
    {
        if(!TryGetTouchPosition(out Vector2 touchPosition))
        {
            return;
        }

        if(raycastManager.Raycast(touchPosition, s_Hits, TrackableType.PlaneWithinPolygon))
        {
            var hitPose = s_Hits[0].pose;
            if(placedPrefabCount < maxPrefabSpawnCount)
            {
                SpawnPrefab(hitPose);
            }
        }
    }

    public void SetPrefabType(GameObject prefabType)
    {
        placeablePrefab = prefabType;
    }


    private void SpawnPrefab(Pose hitPose)
    {
        spawnedObject = Instantiate(placeablePrefab, hitPose.position, hitPose.rotation);
        placedPrefabList.Add(spawnedObject);
        placedPrefabCount++;
    }

}
The Finished AR App
After everything had been put together and rigorously tested for many hours, the application was finally ready. Below is a video example of the application working on my personal smartphone.